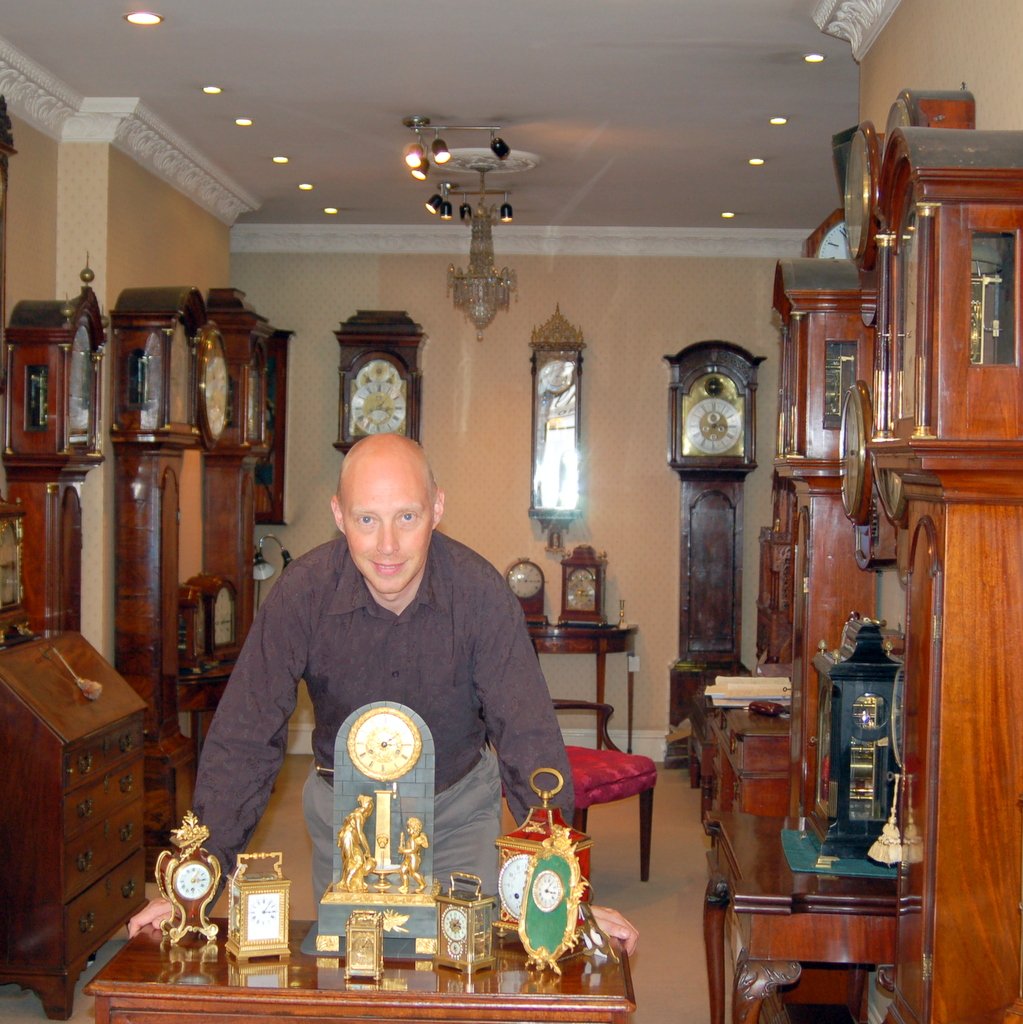
Restoring old clocks is a fascinating endeavor that combines mechanical aptitude with historical appreciation. It’s a journey into the past, bringing back to life timepieces that were once treasured possessions. Imagine holding an heirloom that tells stories of bygone eras, ticking away the moments of history. Unfortunately, many vintage clocks suffer from neglect and wear and tear, leading to malfunctions and a decline in aesthetic appeal. This guide will take you through the process of restoring old clocks, covering everything from identifying the issues to performing the necessary repairs. This comprehensive guide will explain the essential steps in an easy-to-follow format, ensuring a successful restoration of your antique timepiece.
Understanding Your Clock Mechanism
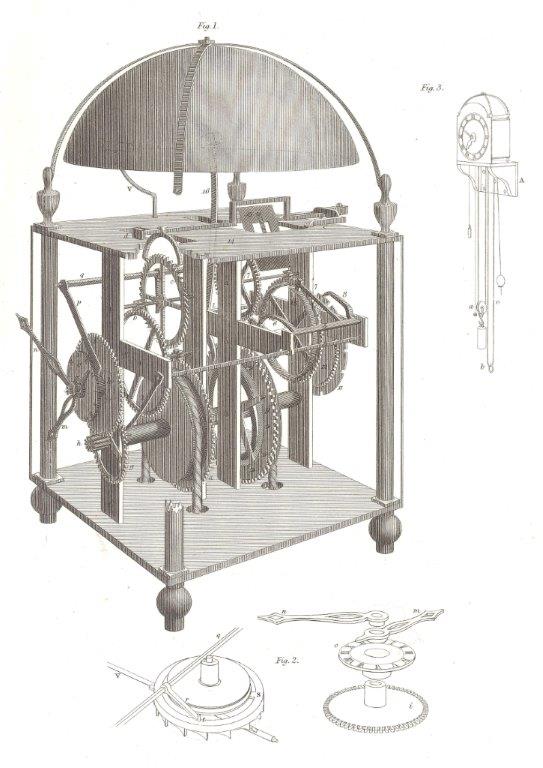
Decoding the Clock’s Inner Workings
The first crucial step in restoring an old clock is understanding its inner workings. This isn’t about just replacing parts, but comprehending how the clock operates, how each component interrelates, and how these functions may have deteriorated over time. Different types of clocks, from grandfather clocks to mantel clocks, feature different mechanisms. Understanding the unique mechanisms will guide your restoration efforts. Identifying the type of movement inside, whether it’s a pendulum clock, a cuckoo clock, or a more intricate antique mechanism, will help you find specific restoration guides and information.
Dismantling the Clock Carefully
Thorough dismantling is essential for a successful restoration. Follow the manufacturer’s instructions meticulously when possible. If there are no available instructions, use caution, take detailed notes and photos of each step during the dismantling process, marking the position of every component with careful measurements and notes on how they connect to each other and the clock’s frame. This process ensures that you have a precise blueprint to follow during reassembly.
Assessing the Damage and Finding the Root Causes
Identifying the Problems
This crucial step involves thoroughly examining every part for signs of wear, damage, and malfunction. Look for signs of rust, broken components, loose screws, damaged gears, or worn-out springs. Pay attention to every detail as these often lead to malfunctions. Careful analysis will pinpoint the primary source of the problems and guide the necessary repairs. Taking detailed notes of the clock’s specific issues is essential to ensure that you effectively address these problems during the restoration process.
Locating and Addressing Specific Issues
Once you’ve identified the problems, research the solution to each issue. Determine the best possible approach to repair each part. Consult relevant manuals or online resources to find guidance on the correct procedures for specific parts of the clock mechanism. Understanding the root causes of the problems will prevent future issues from occurring.
Sourcing Parts and Supplies
Finding Replacement Parts
Acquiring the correct parts is a crucial aspect of restoration. Determine the precise parts needed for your restoration project, based on the identified problems. Consider visiting antique clock shops, contacting antique clock specialists, and examining online marketplaces to locate appropriate replacements. This step requires attention to detail to ensure compatibility between parts and the original clock mechanism.
Tools and Materials
Gathering appropriate tools is essential for precise and efficient repair. Prepare a kit with everything you’ll need, like screwdrivers (various types), tweezers, pliers, cleaning solutions, lubricants, and potentially a magnifier. Ensuring that the materials are suitable for antique clocks is crucial. Proper tools will enhance your process and improve the accuracy of the clock’s restoration.
Performing the Restoration
Repairing Clock Components
Based on the damage analysis, you should meticulously repair the problematic parts or replace worn-out components. Thoroughly clean and lubricate each part that has been repaired or replaced. Pay close attention to the correct technique for handling delicate components, ensuring that you don’t further damage them. Be particularly careful when handling small gears, springs, and other intricate parts.
Reassembling the Clock
Carefully reassemble the clock, following the previously noted guide and maintaining the original position of each component. Ensure that all screws are properly tightened to prevent any future issues. Check the clock’s operation at different intervals to ensure smooth ticking and consistent timekeeping throughout.
Finishing Touches and Testing the Clock
Ensuring Proper Functioning
After reassembly, ensure the clock functions correctly, ensuring that all components work together harmoniously. Check the clock to ensure its accuracy and timekeeping precision. Adjust the clock mechanisms as needed to calibrate them correctly and to align them with the current time. Addressing any minor issues is important to achieve optimal restoration.
Final Polish
Give the clock a final polishing, focusing on restoring its aesthetic appeal and shining each part. Clean all parts meticulously, polishing the clock’s frame and the face to enhance the clock’s beauty and restore its original luster.
In conclusion, restoring old clocks is a rewarding hobby that requires patience, skill, and knowledge. By understanding the intricacies of clock mechanisms, acquiring the necessary tools and supplies, and following a systematic approach, you can successfully restore your antique timepiece. This process not only brings the clock back to life but also provides a deeper appreciation for the craftsmanship and artistry behind these timekeeping marvels. Ready to embark on your own clock restoration journey? Visit our website for more resources and inspiration.