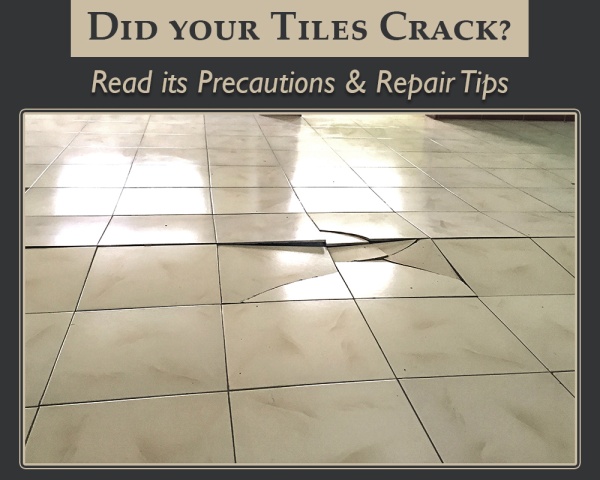
Repairing cracked ceramic tiles is a common home improvement task, ranging from minor fixes to more extensive repairs. A cracked tile can detract from the beauty of a room and, in some cases, create a safety hazard. Ceramic tiles are a popular choice for kitchens, bathrooms, and other areas because they are durable, waterproof, and easy to clean. However, they are susceptible to damage from impacts, temperature fluctuations, or other factors. This guide provides a comprehensive overview of methods for repairing cracked ceramic tiles, covering both DIY and professional solutions, and helping you make informed decisions. The article will delve into several crucial steps, from initial assessment to final sealing, enabling you to confidently tackle this common home repair challenge. This guide will provide a step-by-step approach to effectively restoring your damaged tiles, encompassing essential considerations and techniques.
Assessing the Damage: Identifying the Extent of the Crack
Understanding Crack Types and Severity
Cracks in ceramic tiles vary greatly in size and severity. Some cracks might be minor hairline fractures, while others might be deep fissures or even complete breaks. Recognizing the type of crack is crucial in determining the appropriate repair method. A hairline crack might only require patching, while a larger crack might necessitate full replacement. It is essential to assess the crack’s depth, length, and potential for further expansion. Professional inspection can identify structural weaknesses not readily visible to the untrained eye. Analyzing the structural integrity is crucial; a crack that extends deep into the tile or runs through the grout lines could signify underlying issues that require professional attention. A thorough inspection is vital for preventing further damage.
Choosing the Right Repair Materials: Selecting Suitable Products
Types of Tile Repair Mortars
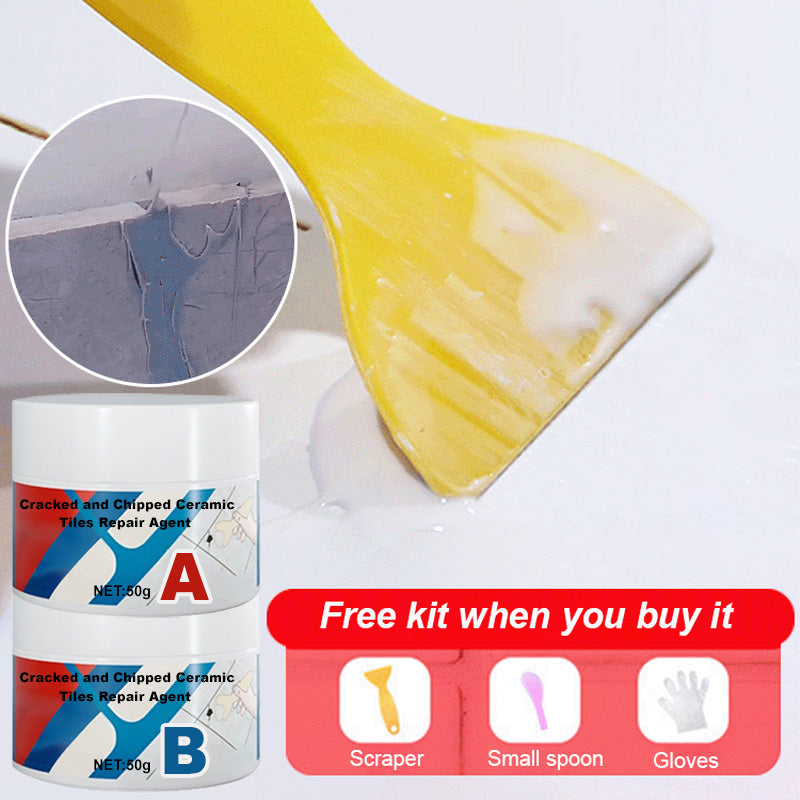
The market offers a range of repair mortars designed specifically for ceramic tiles. Selecting the right material depends largely on the type of crack and the overall condition of the tile. Epoxy-based repair mortars are excellent for filling deep cracks or repairing damaged grout lines. They are known for their strength and ability to bond with various tile types, making them a versatile choice. Another option is a grout matching solution. This is generally used for smaller cracks, or when the goal is to blend the patch seamlessly into the existing tile and grout. There are many other materials available too. Consider factors such as the crack’s size, depth, the type of tile, and the aesthetic appeal of the final repair when choosing the appropriate repair mortar.
Preparing the Cracked Tile: Ensuring a Strong Bond
Cleaning the Surface and Removing Debris
Thoroughly cleaning the affected area is paramount to ensure a strong bond between the repair mortar and the tile. Removing any loose debris, dust, or old grout from the crack will prevent the repair from failing. Using a stiff brush and a suitable cleaning solution, like a diluted tile cleaner, is necessary to get rid of any lingering residue. This careful cleaning process helps achieve optimal adhesion. It’s critical to remove any dirt or old grout or adhesive that could weaken the bond and reduce the longevity of the repair. Once thoroughly cleaned, ensure the surface is completely dry before applying the repair material. Proper preparation sets the stage for a long-lasting, aesthetically pleasing repair.
Applying the Repair Mortar: Following the Manufacturer’s Instructions
Correct Application Techniques
Following the manufacturer’s instructions precisely is crucial to ensure the success of the repair. Applying the repair mortar according to the instructions will ensure that the repair is structurally sound and aesthetically pleasing. Use a small, pointed tool to carefully fill the crack. Ensure the mortar is pressed firmly into the crack to achieve a flush finish. Allowing the mortar to cure according to the manufacturer’s specifications is essential to ensure proper bonding and strength. Proper application and curing times prevent future cracking or chipping. A properly applied repair will blend seamlessly with the surrounding tile, preserving the aesthetic integrity of the area.
Finishing Touches and Sealing: Achieving a Smooth Finish
Grouting and Sealing for Durable Repairs
Once the repair mortar has cured, the surface may need further smoothing or cleaning. It’s essential to use a fine-grit sandpaper or a damp sponge to remove any excess material or imperfections. Grouting the repaired area is necessary if the crack extended into the grout lines. Matching the grout color to the existing grout ensures that the repair blends seamlessly with the surrounding area. Once the grout is set, seal the repaired area to protect it from moisture and staining. Sealing protects the repaired area and adds to the tile’s durability and longevity.
What if the crack is too large for a DIY repair?
If the crack is extensive or goes through several tiles, professional assistance might be needed. A professional tile installer can assess the extent of the damage and implement a more comprehensive repair strategy.
What are the costs associated with professional tile repair?
Professional tile repair costs vary based on factors such as the severity of the damage, the extent of the repair, the materials used, and the specific expertise needed. It’s wise to get multiple estimates from qualified contractors before making a decision.
Can I use different types of repair mortar for different types of cracks?
In some cases, different types of repair mortars may be better suited for specific crack types. For instance, epoxy-based repair mortars might be more effective for deep cracks, while grout-matching solutions are generally suitable for smaller hairline cracks.
How can I prevent future cracking in my ceramic tiles?
To prevent further cracking, carefully consider the factors that could lead to damage, such as ensuring the grout is properly laid and maintaining the appropriate humidity and temperature levels for the tiles to prevent expansion or contraction. Regular inspection can identify potential problems before they become major issues.
In conclusion, repairing cracked ceramic tiles is a multifaceted process requiring careful assessment, precise selection of materials, and meticulous execution. By following these steps and prioritizing quality materials, homeowners can effectively restore the aesthetic appeal and structural integrity of their ceramic tile surfaces. For more in-depth advice or to schedule a professional repair consultation, contact a qualified tile repair specialist near you. They can offer personalized solutions tailored to your specific situation. We encourage you to leave a comment below if you have any further questions or if you would like more detailed information.