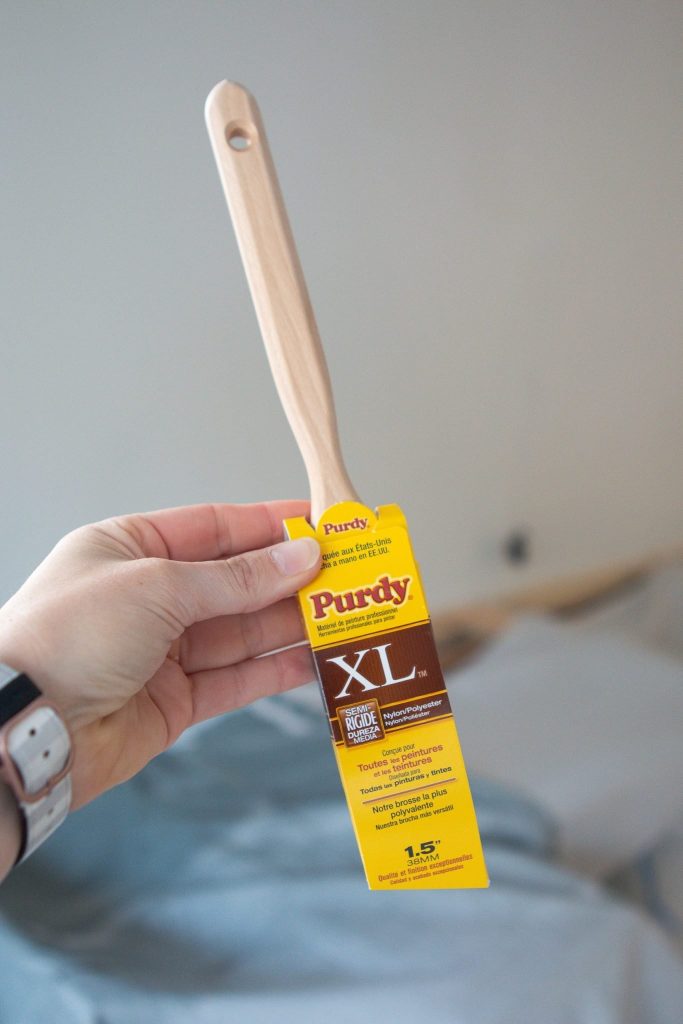
DIY Paint Mistake Fixes are a common frustration for home improvement enthusiasts. Whether it’s a simple drip or a major error, knowing how to handle those imperfections can save you time, money, and stress. This comprehensive guide will equip you with the necessary knowledge and practical solutions to tackle a wide range of painting mistakes with confidence. We’ll cover everything from minor blemishes to more significant issues, offering step-by-step instructions, actionable strategies, and real-world examples to help you achieve a flawless, professional-looking finish. This guide is structured as follows: first, we’ll delve into common mistakes and their causes; next, practical strategies for fixing various errors will be thoroughly examined; finally, we’ll provide practical solutions for future painting endeavors.
Identifying Common Painting Mistakes
Understanding Paint Types
Different types of paint react differently to mistakes. Acrylic paints, for example, are generally more forgiving than oil-based paints. Acrylics are known for their quicker drying time, allowing for easier touch-ups. Oil-based paints, while offering a beautiful finish, require a more meticulous approach to fixing errors. Identifying the paint type used is crucial for selecting the right correction method.
Recognizing the Source of the Problem
Sometimes, a painting problem isn’t about the paint itself, but the tools or the technique. Poor brushstrokes, inadequate surface preparation, or improper application can lead to a myriad of issues. Understanding the cause of the problem is the first step in finding the right solution. Improper surface preparation or improper application can result in cracking, peeling, or bubbling. For example, insufficient sanding can create a rough surface that won’t hold the paint properly, or a brush that’s loaded with too much paint can cause dripping.
Fixing Drips and Runs
Understanding the Causes
Drips and runs are common mistakes, often caused by applying too much paint too quickly, inadequate drying time between coats, or an overly wet brush. When painting, it’s essential to ensure you’re applying the paint in thin, even layers, allowing ample time for each layer to dry before applying the next. This will help prevent sagging and drips. A wet brush can lead to unsightly streaks and runs, and using too much paint in a small area can lead to the same results.
Practical Solutions
To fix drips and runs in acrylic paints, gently dab the drips with a clean, damp cloth or a soft sponge immediately after the paint has started to dry. Using a razor blade to lightly scrape off the drip and then repaint the area might also be useful. If the mistake is on a vertical surface and still wet, use a putty knife to gently scrape off the drip, allowing it to dry before applying the next coat. If the problem is with an already dry layer, you can lightly sand the area and repaint it with a new layer.
Dealing with Uneven Coats
Recognizing the Problem
Uneven coats can stem from inconsistent brush strokes, incorrect application techniques, or inconsistent paint consistency. Uneven coverage creates an unprofessional appearance and impacts the overall quality of the finish. Inconsistent brushwork can create visible lines in the paint and will affect the way the color looks. Trying to apply too much paint in one pass can also result in uneven coverage.
Solutions
Using a high-quality roller with good nap can help you apply the paint more evenly. Also, make sure your brush or roller is well saturated but not overly loaded with paint. Allow the paint to dry slightly between coats to avoid clumping or drips and allow the paint to fully dry before sanding down any irregularities. If the problem is minor, a gentle sanding and re-application can fix it.
Correcting Color Variations
Identifying the Issue
Color variations in a painting project can be due to differing paint batches, uneven mixing, or incorrect color matching. Color inconsistencies can also be caused by inconsistent light sources when making the color match or by inconsistencies in the application process.
Strategies for Improvement
Use the same batch of paint for the whole project to minimize color variations. Always mix the paint thoroughly and evenly before using it. For large projects, consider using paint swatches to match the colors in the entire space.
Addressing Scratches and Blemishes
Common Causes
Scratches and blemishes in paint can be caused by various factors, including improper surface preparation, accidental bumps, or the use of damaged tools. Improper surface prep can result in visible blemishes, and working with tools that have been dropped or scratched will certainly cause scratches and blemishes in the paint.
Solutions
If the scratch is minor, you can use a fine-grit sanding block to smooth out the area, then apply a touch-up coat of paint that matches the surrounding color. Use a very small brush for the touch-up to avoid making the problem larger. Always ensure the surface is completely clean and dry before applying the touch-up coat.
In conclusion, fixing DIY painting mistakes is achievable with the right approach. Understanding the type of paint, the cause of the issue, and utilizing the appropriate fix will minimize the damage and help you achieve a professional-looking finish. By following the steps outlined in this guide, you can transform a frustrating experience into a satisfying one. Ready to tackle your next DIY painting project with confidence? Visit our website for more expert tips and tricks, and sign up for our newsletter to receive exclusive updates and resources!