
Repairing drywall before painting is a critical step in achieving a flawless and long-lasting finish. A poorly prepared drywall surface can lead to visible imperfections, uneven coats of paint, and a short lifespan for your painting project. This comprehensive guide will walk you through the essential steps of repairing drywall before painting, ensuring a professional and beautiful outcome. We’ll explore various techniques, materials, and best practices. This article will cover the preparatory work from start to finish, including how to identify and fix issues, select appropriate materials, and understand the proper application methods. By the end of this guide, you’ll be confident in preparing your drywall for a smooth, professional-looking paint job.
Identifying and Assessing Damage
Initial Inspection
Before embarking on any repair work, a thorough inspection is essential to identify areas requiring attention. Look closely for cracks, holes, dents, or other imperfections. Note the severity and location of each issue. This initial evaluation helps determine the appropriate repair methods. Visualize the ideal outcome you desire, and evaluate each problem to decide if it is a simple fix or demands professional intervention. A professional inspection can save time and potential costly mistakes. The condition of the drywall will determine the needed repair, and this initial evaluation is key to planning the entire process effectively.
Preparing the Repair Area
Removing Loose Debris
Once the damage is assessed, the repair area needs preparation. Carefully remove any loose debris or dust from the affected drywall section. A stiff brush or a vacuum cleaner attachment can be helpful for this. Ensure the surrounding area is clean to prevent dirt from contaminating the repair. Proper cleanup is essential for a quality repair. Pay close attention to the removal of old paint or any loose materials that could affect the adhesion of the new repair. This meticulous step contributes significantly to the overall quality of the final result.
Selecting Repair Materials
Choosing the Right Supplies
Different types of drywall damage necessitate specific repair materials. For minor cracks, drywall patching compound is typically sufficient. For larger holes, a combination of patching compound and possibly a drywall patch might be required. Use primer and sealer to prepare the surface for optimal adhesion, and choose high-quality, durable materials to prevent future issues. Carefully consider the type of damage you are addressing to select the right material for the job. Selecting the correct type of compound, screws, and additional materials is a critical decision that affects the overall efficiency and outcome.
Applying the Repair
Patching and Finishing
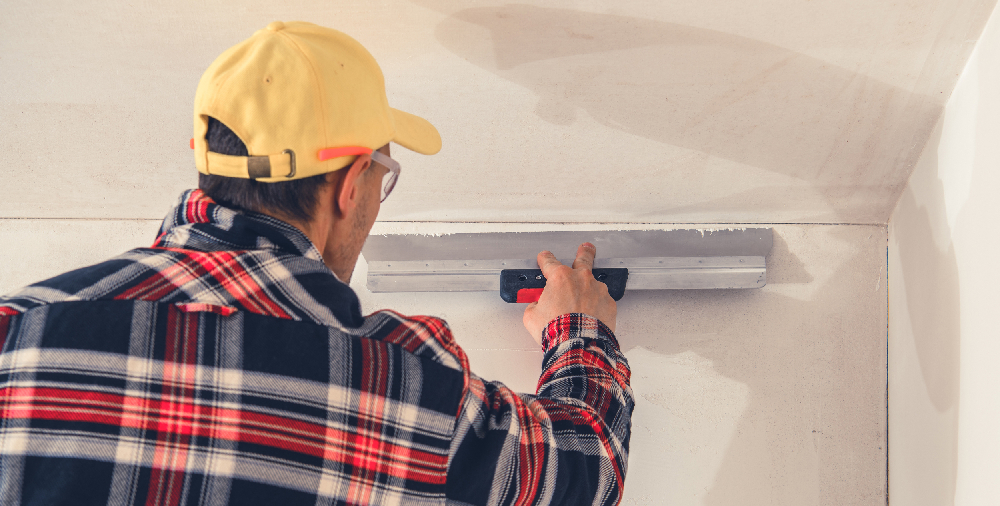
Apply the chosen patching compound according to the manufacturer’s instructions, ensuring a smooth and level surface. Allow ample drying time between coats, following the manufacturer’s recommendations. Professional drywall installation techniques can provide valuable insights into the necessary steps for repairing damage and ensuring a smooth surface. Be sure to use the correct tools, such as drywall knives, and sand the patched area until it’s flush with the surrounding drywall. This step ensures a smooth surface that is ready for painting.
Preparing for Painting
Primer Application
After the repair is completely dry, apply a coat of drywall primer. This crucial step seals the repair and creates a consistent surface for the paint. A properly primed surface significantly improves the paint’s adhesion and prevents potential issues like blotchy or uneven color distribution. Using the correct primer minimizes the need for multiple coats of paint, saving time and resources. The primer also creates a uniform surface and prevents the paint from absorbing unevenly.
How do I choose the right patching compound for my drywall repair?
Different types of damage require specific compounds. For minor cracks, a lightweight compound is sufficient, but for larger holes, a stronger, thicker compound may be necessary. The type of compound must adequately address the size and severity of the damage. Consider the specific drywall type and environment for best results.
What are some tips for preventing future drywall damage?
To prevent future drywall damage, ensure proper support for the drywall during construction. Use appropriate anchors and bracing whenever possible. Preventing moisture or humidity buildup in the area can help avoid mold and mildew growth that may lead to discoloration and damage of drywall.
What are the potential consequences of neglecting drywall repair before painting?
Failing to address drywall issues before painting can lead to visible imperfections in the finished paint job. This includes uneven color distribution, bubbling paint, and peeling paint. Furthermore, unresolved issues can compromise the integrity and longevity of the paint job.
How can I tell if I need professional help for drywall repair?
If the damage is extensive, involves multiple issues, or if you lack experience with drywall repair techniques, professional assistance is recommended. Assess your comfort level and experience with the task. A professional drywall repair specialist can ensure a quality outcome that meets your aesthetic expectations and structural needs.
Frequently Asked Questions
What are the most common drywall issues needing repair before painting?
Drywall damage often manifests as cracks, holes, and dents. These imperfections can impact the appearance of the painted surface and the overall structural integrity. Addressing them early through thorough repair is essential for a professional-looking finish and prevents future problems.
In conclusion, preparing drywall for painting requires meticulous attention to detail and a phased approach. By addressing potential issues like cracks, holes, and imperfections proactively, you can ensure a smooth, professional-looking finish. Remember, proper drywall repair before painting is crucial for the longevity and aesthetic appeal of your project. Invest the time now for a flawless, beautiful, and long-lasting painted wall. Contact a qualified professional for assistance if needed. This comprehensive guide provides a solid foundation for achieving exceptional results. Start your painting project with confidence, knowing you’ve prepared the drywall surface thoroughly.